The Course
Passaconaway offers 18 beautifully manicured holes that
challenge every level of golfer
THE FRONT 9 CHALLENGES ACCURACY & CONTROL
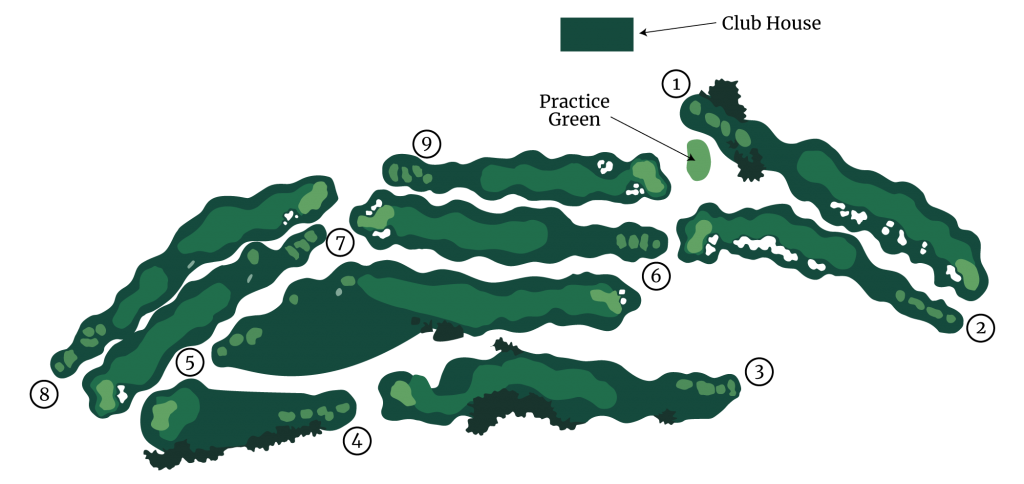
Click numbers below for hole-by-hole descriptions and maps
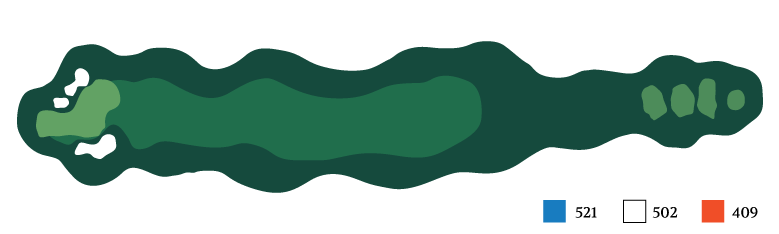
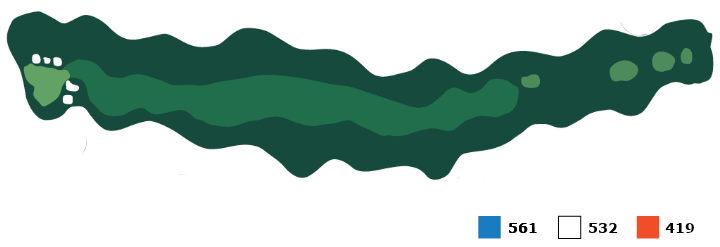
A well placed tee shot is required to stay out of the fairway bunkers on the right.

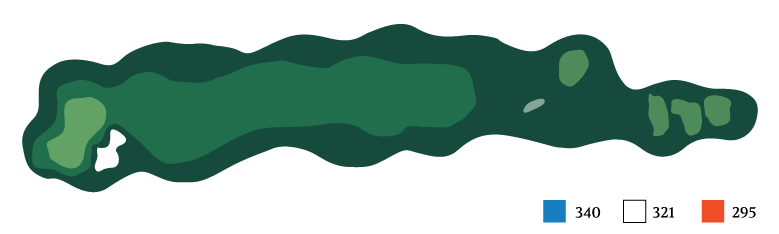
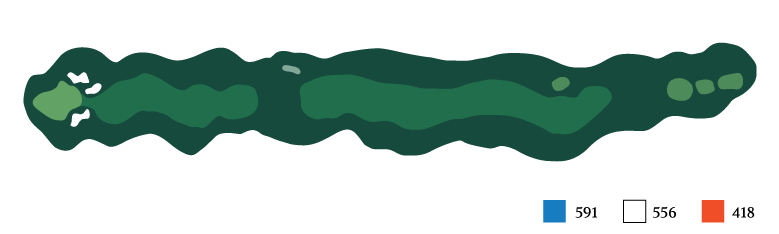
A short but dangerous hole. Bunkers as well as O.B. guard the whole left side so you want to favor the right side off the tee. Again, accuracy over length on the tee shot should set up an easier approach. A double level green makes for some interesting long putts here.
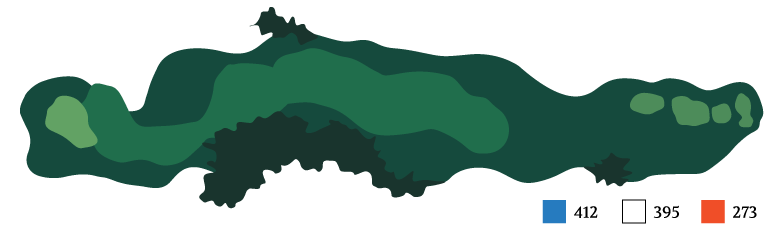
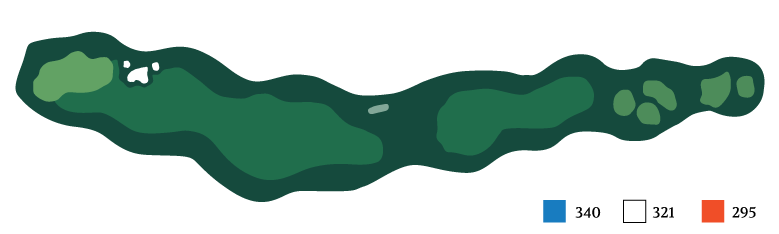
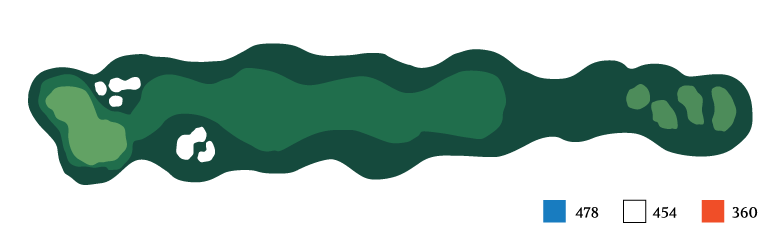
Trouble trouble everywhere! The hazard on the right side and O.B. on the left make for higher pulse rates on this tee shot. So the tip here is to pick your spot in the fairway (preferably the right center) and concentrate. Once you are safely in the fairway, the fun doesn’t end there as the second shot is just as demanding. The hazard along the right of the green increases the importance of selecting the right club and hitting it well. The green caps off our most difficult hole by being sloped and slippery, making for some treacherous putts. Par is an excellent score here.

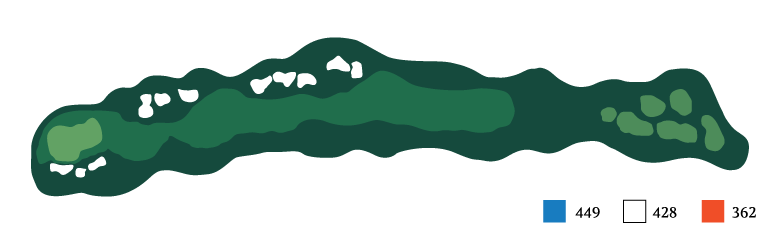
Getting to this large passive green is easier than it looks. The wetlands force you to carry the ball most of the way but there is a lot more room than you think between the marsh and the green. Favor the right side and swing with confidence to tame this daunting par 3.
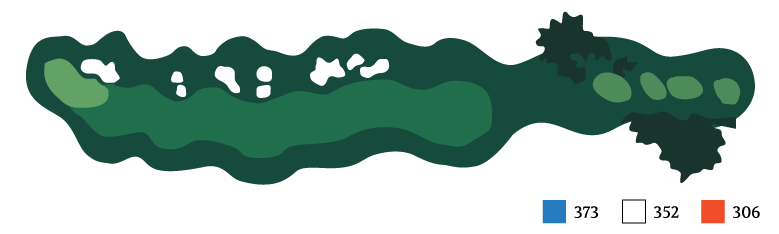
Here you can hit the long booming drive as this tee shot demands a lot of distance to negotiate the hazard. The further right you aim, the longer the carry to get to the fairway. You can try to hit the “island” bail out between the two hazards if you are daring but I would recommend aiming left and taking your chances. Once in the fairway this hole gets easier but the green is long and narrow and making birdie may not be as easy as you think.
A pretty straight forward par 4. The trees guard the right side off the tee and greenside bunkers grab errant approach shots, but you can get aggressive here.
A short but tricky hole. The hazard on the left needs to be noted as it can come into play for the right to left player off the tee. The safe play is to choose a club to get inside the 150 marker and then get aggressive on your second shot. Be careful if the flag is on the left over the bunker… make sure you take enough club. This green is very very tricky and can turn long birdie putts into bogies rather quickly.
A slight dogleg right, but straight off the tee is the way to go. The hazard crossing the fairway collects more tee shots than you would think. Tee shots in the fairway allow you to attack the flag. The green has some undulations but it’s not too difficult to navigate.

It’s tempting to try to drive this green if you hit it long off the tee, but I would bet you will have more birdie putts if you play for the meat of the fairway. Trees right and bunkers left grab a lot of aggressive driver shots. Trust your short game to get it closer rather than going for the green ( unless of course you are 1 down ). A classic risk-reward hole.
THE Back 9 Rewards Length
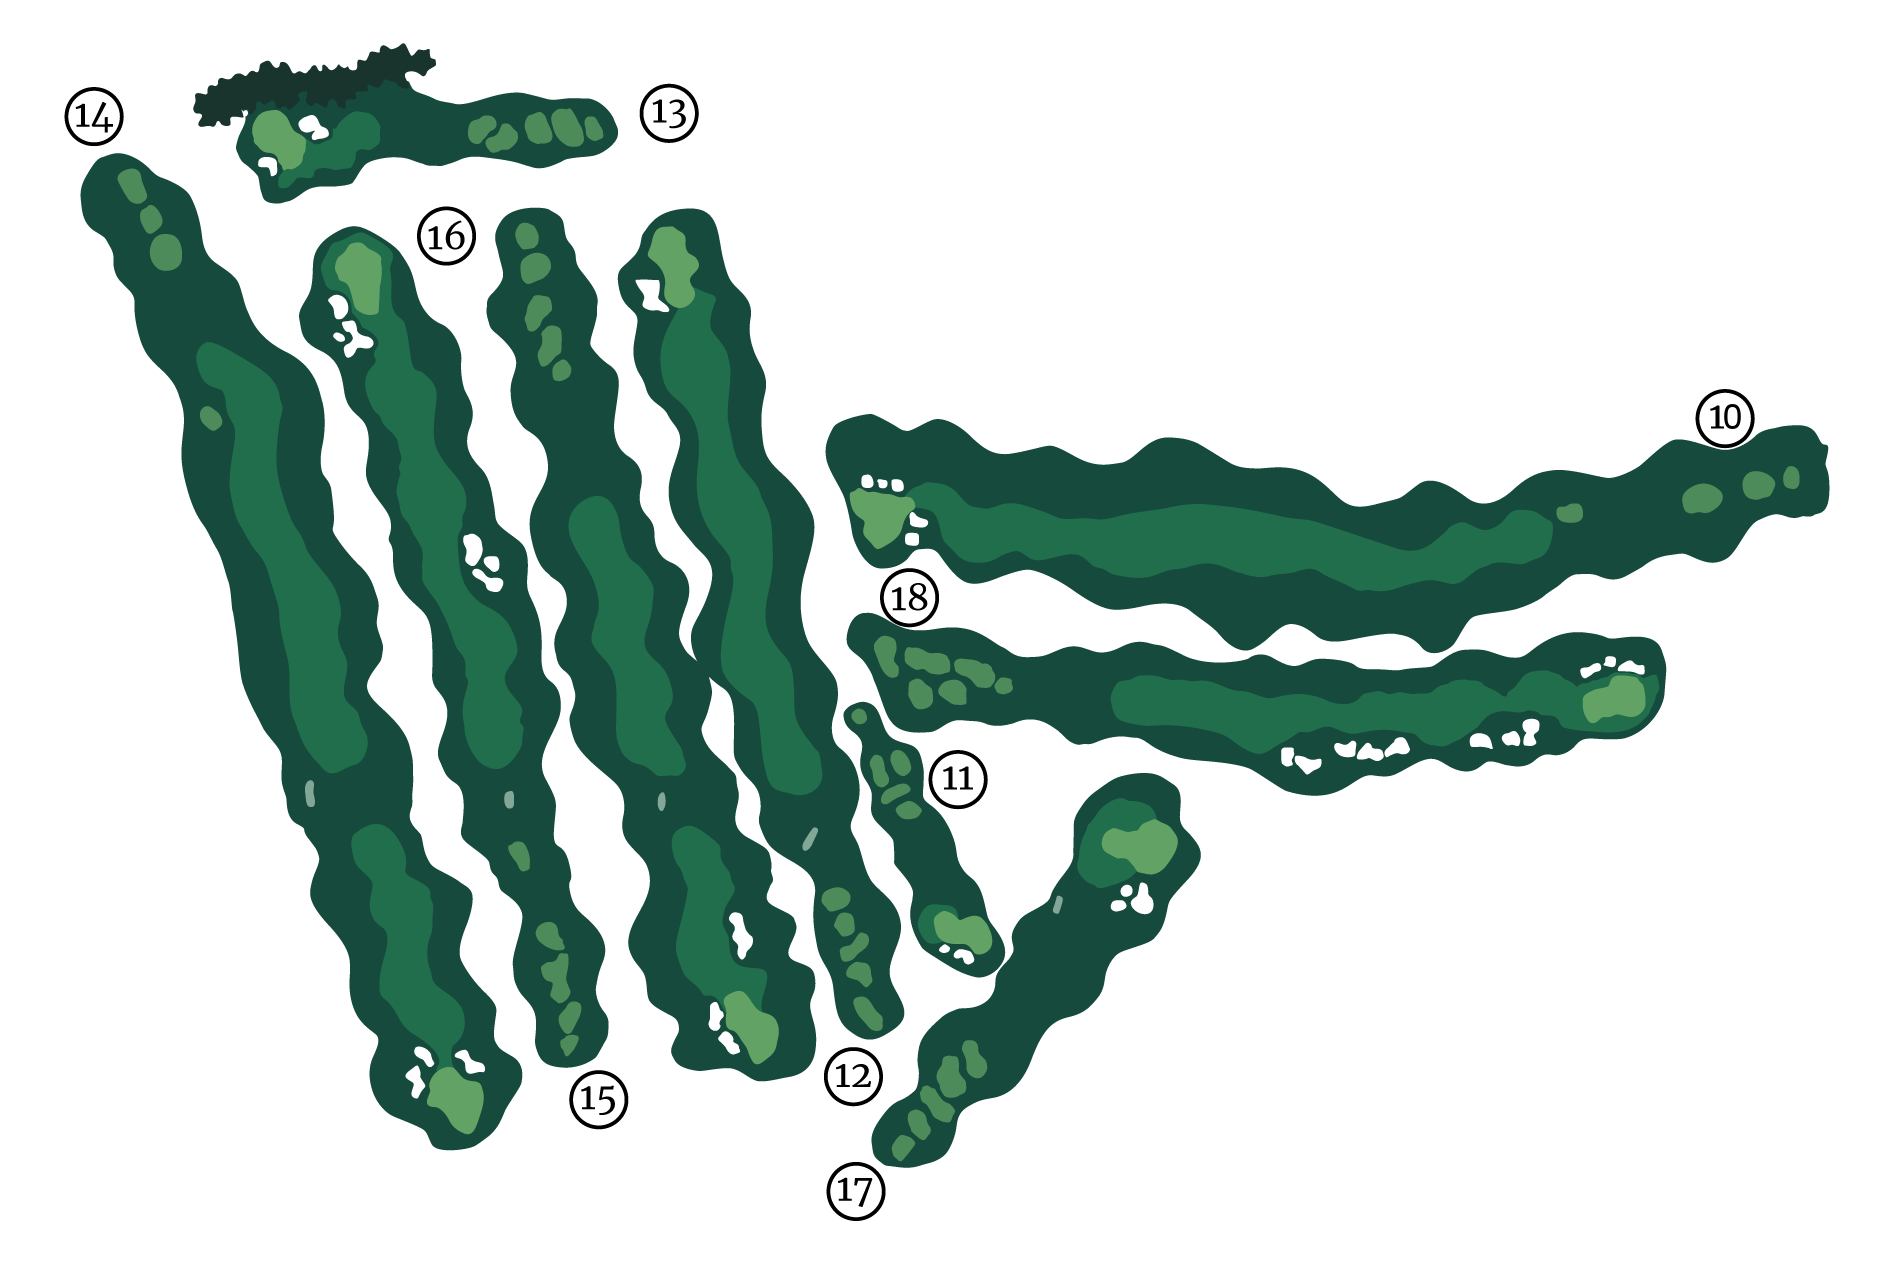
Click numbers below for hole-by-hole descriptions and maps
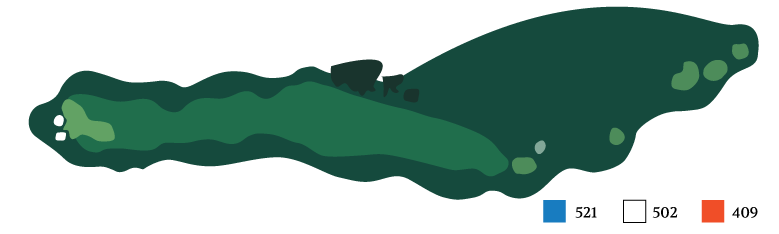
This is a three shot hole for all but the very long hitter. Drive to the left of the fairway bunkers provides a nice angle to play your second shot toward the green. Only a short iron will remain to a two tiered green. There is OB the entire length of the hole on the right so favor the left!

This par 3 is not as easy as it may seem. Club selection is critical with the bunker long and the hazard short. Five tee boxes and ever swirling wind can increase the difficulty. Be cautious once you are on the green as 3-putts are abundant on this hole.

Now is the perfect time for your best tee shot of the day! This long par 4 plays into the prevailing wind to a long, narrow green. Tighten those shoestrings and swing away. OB all along the right side once again.

A double level green adds to the difficulty factor here. A front left pin makes for an easier shot than when the hole is cut on the right side over the bunker. There is a lateral hazard on the right so take dead aim, and good luck.
Another 3 shot par 5. Similar to the 10th hole, O.B. guards the entire right side. Watch out for the creek on your second shot. You may need to “lay up” short of it and then go for the green. Big hitters can get close in 2 but not likely to reach. Once you get to the green there are no guaranteed 2 putts. Take a good look at your line with the undulations on this green.
This hole is another long par 4. Bunkers are lurking on the right side of the fairway in the landing area, as well as to the left of the green. As if the length wasn’t tough enough. The green is large but not too tricky thank goodness.

A long accurate tee shot will hopefully give you your best chance to get to this green in two. If you are not in the middle of this fairway it may be tough to go for the flag. Hitting this green in regulation is a great accomplishment, but the challenge doesn’t end there. Work hard as this green has seen many a three-putt!

This is a very nice par 3. A hazard short, a bunker right, and no easy up and down if you miss to the left, making club selection the key here. Par here is a very good score.
Again, length off the tee helps tremendously in getting a birdie putt on the last of the long par 4’s on this side. A big tee shot could mean the difference in hitting a short or mid iron in as opposed to a long iron or hybrid. A two putt par or the rare birdie will make your post round sandwich and cold beverage taste even better!

Nick Adjutant
Head Golf Professional
Mark Simister
Director of Grounds